Without further delays, we would like to present to you how we revived this Volkswagen Polo that had only 1 job. Its what we Malaysians call “Kete Pi Pasar” (Go to Market Cars). 5 years of age and less than 100k clocked on the ODO, imagine how mint it is?

First, we checked out how clean the car is.

Failed our first cleanliness test.

Drainage areas were stained.

Emblems were stained as well. We wouldn’t blame the owner as most people don’t know how to clean this area.

Pop the trunk and there is more stains.

The door handle cups are usually scratched as well

And of course, all doors looks the same.

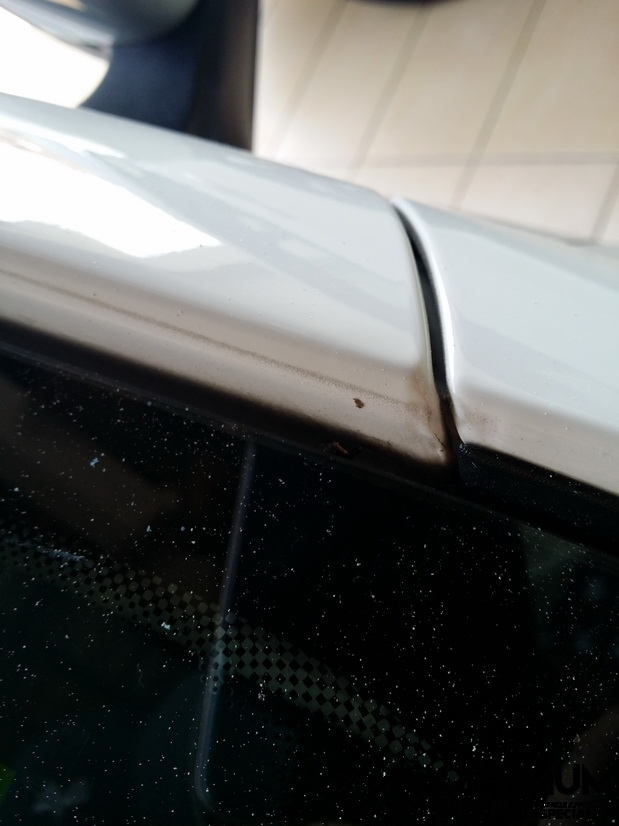
Along the window trims, all stains were rather visible.


There were no rubber roof lining but there is definitely a ditch for rain water to flow down. Yes, its stained as well.

Hidden areas like this were of course neglected over the years.


Bumper trims were stained as well.

At this point, we would say, the whole car is stained.

Moving on to how bad the paint is. Swirls were spotted.

The paint had some light watermarks.

But severe paint damage caused by the Good Morning towel washing mitt.

Some areas had deep scratches.

Some areas had lighter scratches.

Taillights are made from plastic, they are most probably scratched too.

And lightly stained with watermarks too.


Alright, correction and cleaning. We scrubbed the whole car with a brand new 0.01mm soft bristle Systema toothbrush.

But yet, we fail to remove some rusty spots.

Most of the areas that were badly stained were restored.

Window trim areas.

Below the side mirror areas.

The gap between the fender and the bumper.

The signal side marker’s gap.


and of course the Volkswagen chrome emblems.


Sneaky areas like these are not neglected anymore

Hidden area under the Volkswagen logo had no chance of escaping this round.

Lastly, bumper trims and details were cleaned.

We polished the paint with a aggressive compound to remove most of the swirl damages.

But there were some damages that could not be restore due to the severity.

This is a 50/50 colour comparison. On the left, the true colour of the white. On the right, the stained white.

Likewise on the roof, 50/50 colour difference. Left: Restored, Right: Stained.

The taillights were given a light polish to remove the plastic scratches.


Restoring the glossy and colour of the taillights. You’ll see how bling it comes out later.


The wheels on first impression looked rather clean but when we looked closer.

Silver can be deceiving as well.

Lugnut areas were stained.

Colour difference on the spokes.

After cleaning the wheels.


Coming Soon on the next post.

As for the final finishing after topping up with a layer of premium quality wax. Check it out.


Optimum Auto Detailing - Premium Car Detailing To Your Door Step
Premium Car Detailing To Your Door Step