Today we have here with us a Volkswagen MK7 Golf GTI. It had been one of the many cars we have been requested to post up. As we have many many cars awaiting article posting, we chose this to be up first.


Upon arrival, we always check the cleanliness of the car. Which in this case seem to be clean and shiny.

As we moved to the frontal area of the car, we are able to see that there is a wet look on the car, most probably due to lighting or the dealership waxed the car.

As we started to inspect the car close up, we found dirt stains everywhere.

Windows were covered in dust.

Doors were covered with the standard road grime and dust.

Side skirts are collecting much dirt too.

Due to the aerodynamic’s of the car, sand, dust and dirt are collected at the back section of the car too.

We also found some minor tree sap stains on the paint.

A closer look onto the paint, it is not as clean as it looks after all.

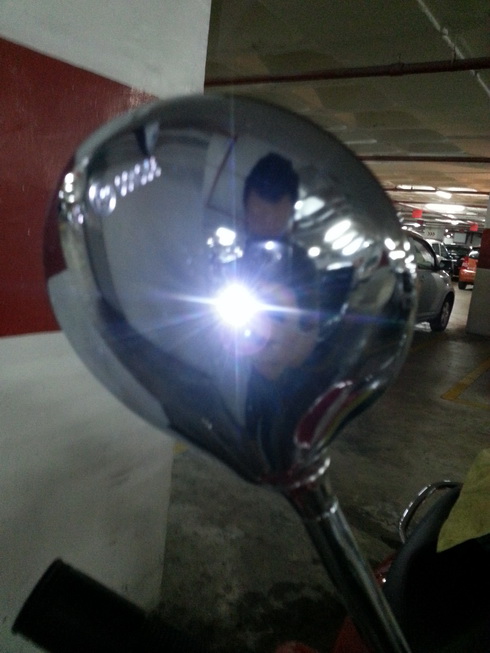
Into the paint condition, we did a sun shot and found that the paint is still in a flawless state.

With a LED light source, we can conclude the paint’s condition.


As the paint condition is at such a good state, there is no correction required. Our focus will be on stain removals. Here is a before

And After stain removal.

The owner passed us a new set of LED taillights to be coated as well, so we prepared them as well.


The wheels prior delivery is normally covered in some sort of plastic film, this plastic film will leave adhesive residue which is normally missed out by the dealers. Here is a before.

After the residue is removed.

The wheels were covered in brake dust as usual. This is a before.

More before shots.

And After much hours spent on decontamination.

opti-guard
All posts tagged opti-guard

We have a BMW E90, 6 years old, full of swirls and had been detailed by a famous detailing in PJ as informed by the owner himself. So we expected the car to be in good shape but instead…

The illustrations shows the initial look of the car when we arrived. Looks glossy from far but not as stunning.

The car was quite dirty as it looks, notice the exhaust tips are fully oxidised.

So we took some immediate shots of the surface defects and we found heavy swirls and holograms.

From another view, you can clearly see the holograms.

The rims was bulked up with brake dust.

After a detailed wash, claying and cleaning all the edges

The clean look after the car went through a detailed wash.


Now for the correction steps. We gave a few passes of compound to remove the swirls and scratches

A closer look on the surface.

Reflection of the after compound and correction effect.

After that we run a few passes of polish to level out the holograms.

We utilised a different kind of lighting for easier view on the holograms and yes, it has been corrected. The car was ready for the coating process.

Before the coating, we gave the car another wash to remove dust and oil and also did some minor correction on the oxidised exhaust tips.


Overall it was not a perfect 100% correction but the owner was happy to see the car being transformed into the 6 years ago state. Also having see that it is a lot shinier and glossier. It was a 10hrs job but totally worth it. Enjoy the final results and thanks for supporting and reading.


This is kindof a new type of coating job? This is a Vespa LX, about 2 weeks old and red. The owner contacted us that he did not have time on a weekend to get the bike detailed so we did the detailing and coating while he was at work. The location was in a very humid parking basement with no ventilation, no water and no electricity. Fortunately…

We first check on the paint condition, chrome condition and also the plastics. Where a bike is exposed in a totally different condition than a car, bike owner seldom have any chance dry their bike after a rain which might increase chances of watermark and stains. Especially on chrome!

Fortunately for the paint, the condition was much better, with no swirls and watermark at all. From the orange peel, I could conclude that it might have just been repainted.


We removed the watermarks with Osren StainX.

The lower section of the bike is always more prone to dirt and road grime. We did a detailed cleaning with Osren’s Degreaser FX

For the paint and the body of the bike, we utilized OPT’s No Rinse Wash as there was not much big surfaces to be cleaned.

For the Rims and the awesome disc brakes on this small bike, we used Osren’s Degreaser FX with a slightly more concentrated dilution to get it cleaned, the removed some tar spots on the rims.


We coated the bike, chrome, plastics, headlights, helmets and there u go for the beading and gloss!


